The bike headset bearings is an essential component that connects the fork to the frame and allows the handlebars to turn smoothly. Over time, the headset bearings may become loose or develop play, causing the steering to feel unstable or rough. To maintain the safety and performance of your bike, it’s important to know how to adjust the headset bearings. In this step-by-step guide, we’ll walk you through the process of adjusting your bike’s headset bearings.
What are headset bearings and why do they need to be adjusted?
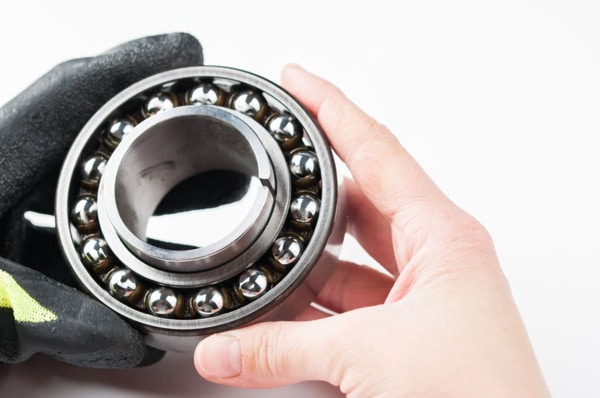
Headset bearings are the bearings that allow the fork and the frame of a bike to rotate smoothly in relation to each other. They consist of a set of ball bearings, a crown race, and a set of bearing cups that are pressed into the frame’s head tube.
Over time, the bearings can become loose or develop play due to wear and tear, improper installation, or damage. This can result in a wobbly or unstable steering feel, affecting the bike’s handling and safety. Adjusting the headset bearings is necessary to maintain the smooth and stable operation of the headset and ensure the safe operation of your bike.
The tools you will need to adjust bike headset bearings
To adjust bike headset bearings, you will need a few tools, including a set of Allen wrenches, a headset wrench or a large adjustable wrench, a torque wrench, and a grease gun. Additionally, it’s helpful to have a work stand or something to securely hold your bike in place while you work on it.
Step-by-step guide to adjusting bike headset bearings
Sure, here’s a step-by-step guide to adjusting bike headset bearings:
- Begin by loosening the stem bolts with your Allen wrenches, being careful not to fully remove them.
- Loosen the top cap bolt with your Allen wrenches.
- Use your headset wrench or large adjustable wrench to loosen the top headset nut.
- Remove the top cap bolt and spacers, and lift the stem and handlebars up and off of the steerer tube.
- Use your hands to remove the top headset nut and washer, then lift the fork out of the head tube.
- Clean and inspect the headset bearings, replacing any damaged or worn parts as necessary.
- Apply a thin layer of grease to the headset bearings and races.
- Reinstall the fork into the head tube, and tighten the top headset nut until there is no play in the headset.
- Reinstall the stem, spacers, and top cap bolt, and tighten the stem bolts to the manufacturer’s recommended torque setting.
- Double check that the headset is properly adjusted and that the stem and handlebars are securely fastened before riding your bike.
And there you have it! This step-by-step guide should help you properly adjust your bike headset bearings for optimal performance and safety.
Tips for maintaining your bike headset bearings
To keep your bike headset bearings functioning properly, regular maintenance is necessary. Here are some tips to help you maintain your bike headset bearings:
Check for wear and tear regularly
Regularly inspect the bearings and races for wear, pitting or rust. Replace any damaged components.
Clean regularly
Clean the headset and bearings regularly with a clean rag and some degreaser. This helps remove dirt and debris that can damage the bearings.
Lubricate the bearings
Apply a small amount of grease to the headset bearings. This helps reduce friction and prolongs the life of the bearings.
Adjust the headset tension
Adjust the headset tension periodically to ensure that it’s not too loose or too tight. Proper tension ensures that the bearings operate smoothly and wear evenly.
By following these tips, you can ensure that your bike headset bearings remain in good working order and provide smooth, reliable performance.
Adjusting Bike Hadset Bearings
Sure, here’s some additional information that could be included in a blog post about adjusting bike headset bearings:
- Common symptoms of a headset that needs adjustment: If your headset is loose or tight, you may notice a range of symptoms while riding. For example, a loose headset may cause wobbling or shaking of the front end of the bike, while a tight headset can make it difficult to turn the handlebars smoothly. Additionally, you may hear clicking or creaking noises when turning the handlebars if the headset is loose or damaged.
- Types of headset bearings: There are two main types of headset bearings: threaded and threadless. Threaded headsets are typically found on older bikes and have a threaded steerer tube that is screwed into the fork. Threadless headsets are more common on modern bikes and have a smooth steerer tube that is clamped into the fork with a stem.
- How often to check headset bearings: It’s a good idea to check your headset bearings regularly, especially if you ride frequently or in wet or dirty conditions. Some experts recommend checking your headset every 500-1000 miles, or at least once per season.
- When to replace headset bearings: If your headset bearings are worn or damaged beyond repair, you will need to replace them. Signs that your bearings need to be replaced include rust, pitting, or uneven wear on the bearing surfaces, as well as excessive play or tightness in the headset.
- When to seek professional help: If you are unsure about how to adjust or replace your headset bearings, or if you encounter any unexpected issues while working on your bike, it’s always a good idea to seek the help of a professional bike mechanic. They can help diagnose any problems and make sure your bike is safe to ride.
Conclusion
In conclusion, adjusting bike headset bearings is an important part of regular bike maintenance that can greatly improve your riding experience. With the right tools and some basic knowledge, you can easily adjust your headset bearings yourself and ensure that your bike’s steering is smooth and responsive. Remember to check your headset bearings regularly and maintain them properly to prolong their lifespan and avoid potential damage.
If you’re experiencing any issues with your bike’s headset bearings, follow our step-by-step guide to adjusting them properly. For all your other bike repair needs, visit our website to book an appointment with our professional mechanics. Keep your bike running smoothly and safely!